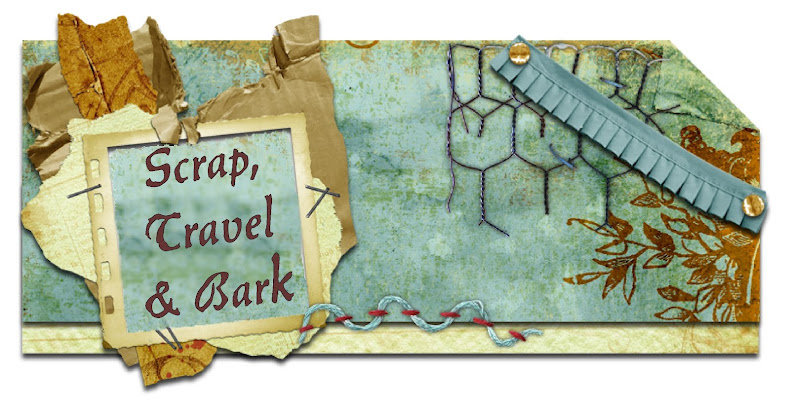
I made this to slip into the plastic sleeve of a small 3 ring binder. I'm using the book in an assisted living facility so that visitors can make a note of their visits.
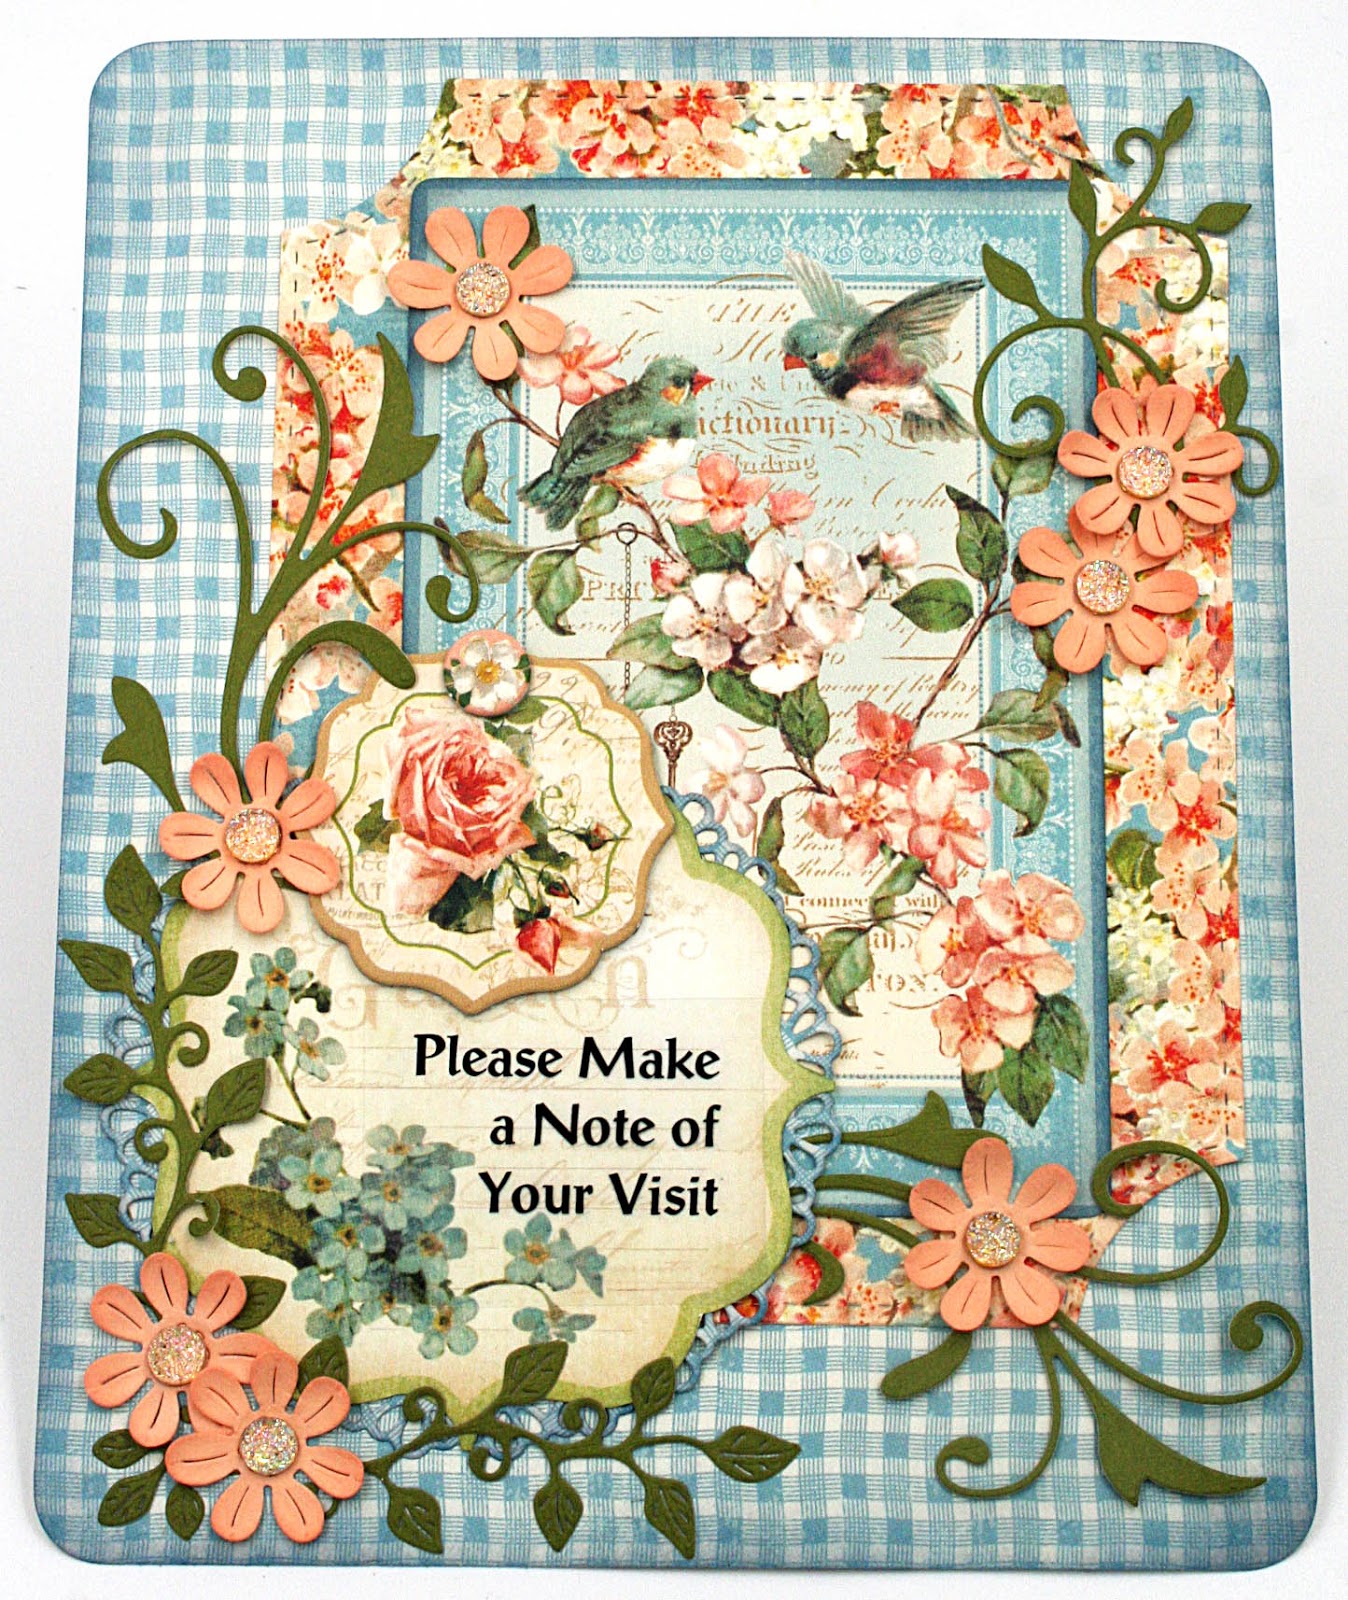
Meet my new favorite paper collection, Graphic 45's Nature Sketchbook and Creative Embellishments has so many wonderful chippies that accent this collection so nicely!
At the top I've used a Pine Cone Branch and Pine Cone Clusters underneath my Petaloo flowers. I used Lindy's mists to color the branches. Love using mists for a coloring agent because it does not fill in the etching designs.
On either side of my photo I used Vintage Flourish Set 3 that I heat embossed with Stampendous aged ivory embossing enamel. Then I layered Pine Cone Clusters over the flourishes.
Those flourishes make such a pretty cluster when layered with other chippies and flowers!
Creative Embellishments has lots of word chippies and I chose this one from the Adventure Word Set. I also heat embossed it with Stampendous aged ivory embossing enamel.
One of my favorite card designs is a step card and Cheery Lynn makes it easy for you with their step card die, Step Card Bundle Set #4. Then add in some diecuts from the new Bohemian collection and Graphic 45's new Nature Sketchbook collection and you're sure to have a winning card!
I've used dies from the new Bohemian collection enhance this card.
I used the Mandala Doily 2 back with a diecut from the Nesting Doll- Circles #1 3 Piece Die Set. I really like how the Nesting Doll diecut provides a backing for the Mandala Doily diecut.
Shaker cards are so popular
now and I will confess, I just didn't "get it" until I made a couple
of them. I am here to tell you that they
are addictive and they are just so fun to make.
I love the dimension that a shaker adds to a card, and, finding tiny
little things to fill the shaker with, is all part of that fun! I've used micro beads, confetti, Diamond Dust
(it tends to stick to the acetate window as does glitter), rhinestones, and
metal pieces.
Today I'm sharing a couple of
Valentine shaker cards that I made and I've got a tutorial for you that shows
you how to make a basic shaker with a nested die set and also with a Cheery Lynn Designs dieset that they have manufactured especially for shakers. You
can make these with just one sheet of design paper!
Some tips to know when making shakers: Instead of buying acetate, save plastic
packaging from your purchases. It works
great as "window" material.
Always allow the glue to
completely dry before filling your shakers.
After filling and gluing on the window, don't shake the shaker until the
glue is completely dry. Otherwise, your
shakers may stick to the sides of the foam and not shake.
Now it's time to get shaking and try these, they are way fun!!
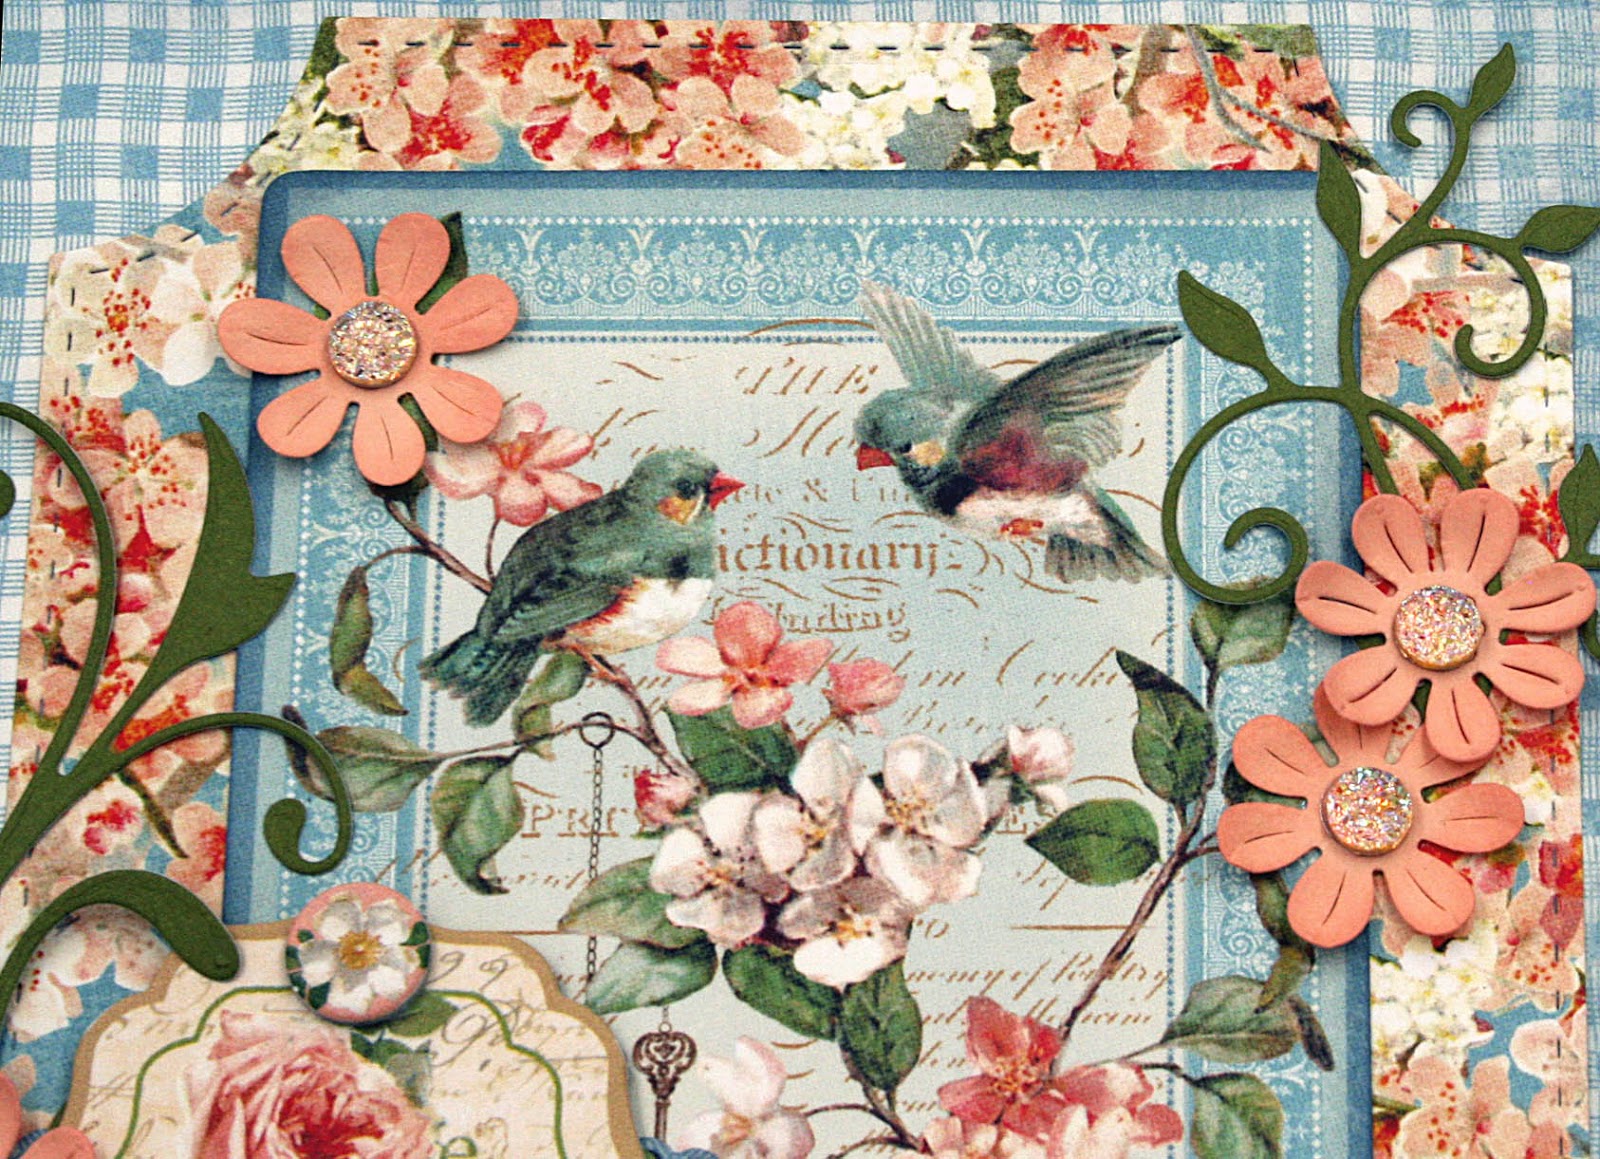
Welcome to the Cheery Lynn Designs January New Release Blog Hop. We are so excited to showcase our new Bohemian collection!
If you arrived from Amy's Blog you are on the right track. If not, head on back to the Cheery Lynn Designs Blog and start from the beginning so you don't miss seeing any of the new Bohemian designs.
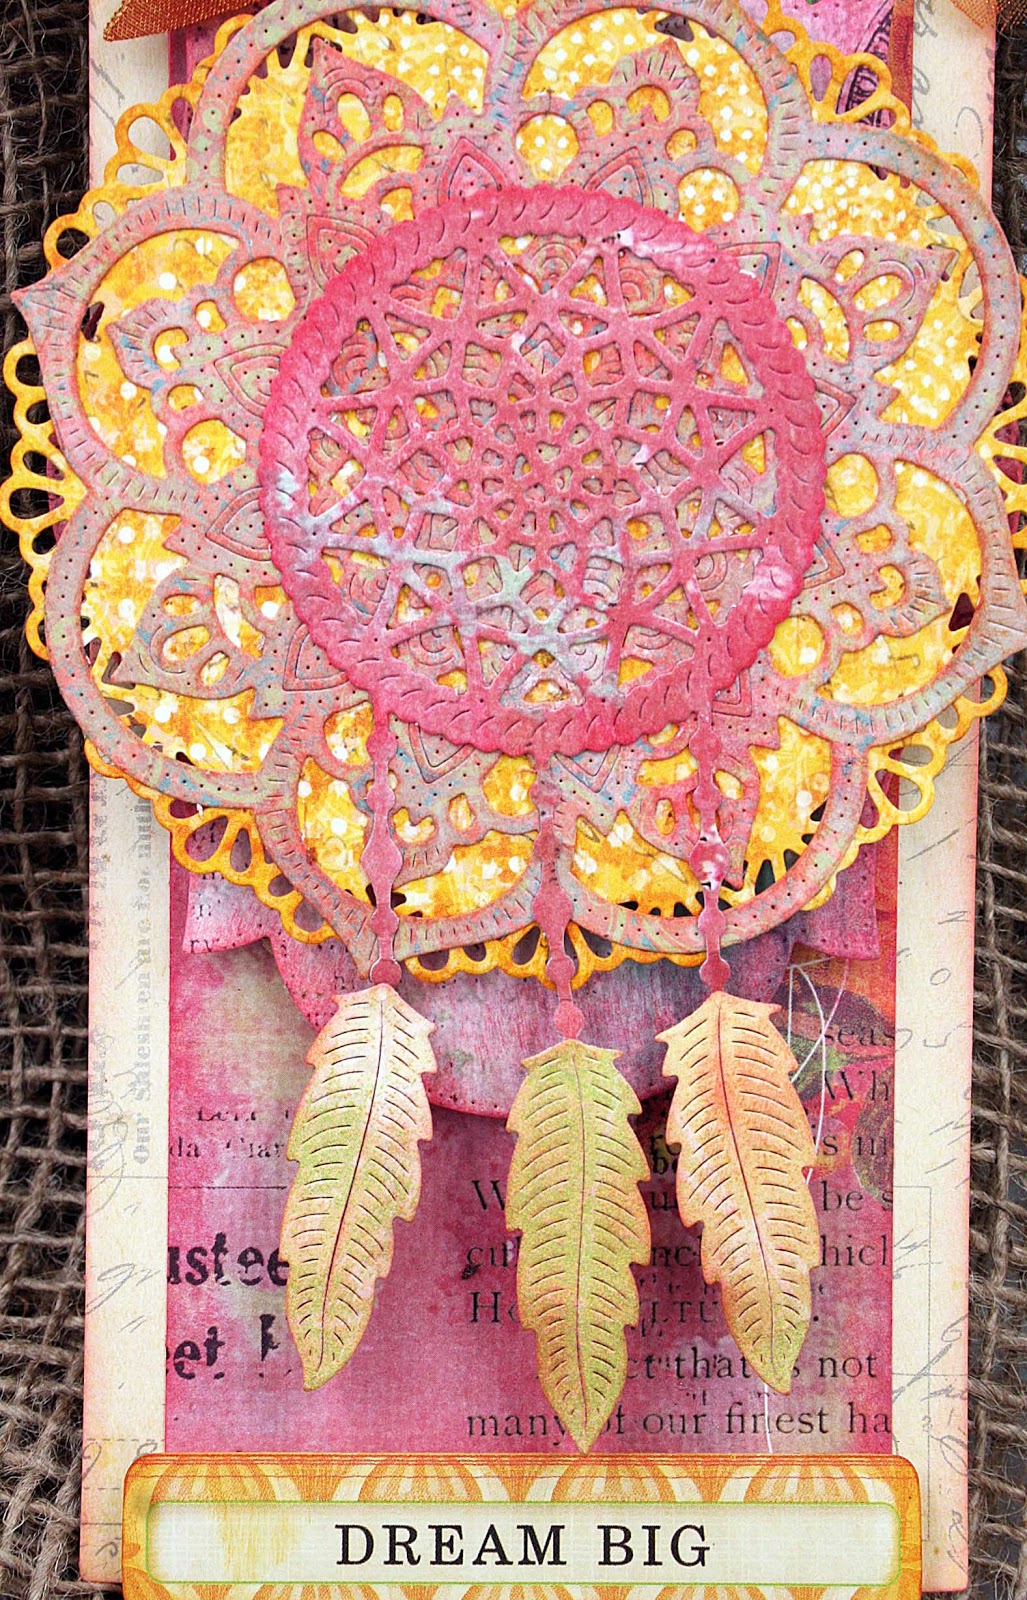
I made a fun tag using the new Dream Weaver die and the Mandala Doily 2 die. I use the Madala Doily as a backing for the Dream Weaver diecut. I think the two diecuts look really great together. To make the Mandala Doily really stand out, I backed it with a Nesting Doll- Circles #1
diecut. in yellow that really contrasts with the pink dreamcatcher.
You can really see the detail in the Dream Weaver and Mandala Doily. It's so intricate, so pretty!
Behind the doily I used a diecut from the Pierced Stacker 2 6 Piece Die Set. It just adds another great layer to my tag. To give my tag dimension, I popped up the layers with foam squares.
Don't forget, there is a $20 Cheery Lynn gift certificate prize to be won by some lucky person! It is awarded randomly to a lucky commenter who answers one or more of the questions on the Cheery Lynn blog. So, be sure to follow the hop and leave a comment and answer the question(s) on the Cheery Lynn blog to be entered to win.
Your next stop on the blog hop is Cheryl's Blog so hop on over and see her fantastic creation!
Thanks so much for stopping by today. Do leave a comment so I'll know you were here and remember to leave a comment on the Cheery Lynn blog for a chance to win.
Portrait of a Lady is such a
beautiful collection and so perfect for those vintage photos of you
family. I chose a photo of my
Grandmother taken sometime when she was younger than I remember her, but, I
love this photo for it shows that she was a very pretty lady and I think quite fitting to use with my title
"Portrait of a Lady."
I like to mix fussy cut
flowers with my 3D flowers. I think that
brings the paper and 3D flowers together.
Tip: Use foam dots or squares and
pop up your fussy cut flowers and leaves, it adds dimension. Diecut flourishes also are great to use in
your floral clusters. Pop those up too
with foam.
I used a pretty mini ornate frame for the title and a lace strip, both from Creative Embellishments. I heat embossed them both with Stampendous aged ivory embossing powder.
I fussy cut a frame from one of the collection photos. It's so vintage and looks so great with my photo!
Are you soooo thrilled to see that Olde Curiosity Shoppe is back? I am, I am!! This is such a fun collection; I had a ball fussy cutting all the fun images. That flying pig is my favorite, he's just so cute! Have you ever seen a baby pig? They are cuter than you can possibly imagine!
I used Graphic 45's redesigned Staples Square Tag & Pocket Mini. I know you'll love the new mini; the design
has been improved so that the pages will lay open! Yay for that improvement!
Because this mini has so many
pages (18, that's 36 pages counting front and back!) I kept the inside rather
simple. The first thing I did was cut
thirty-six 5.5" papers and then glued them all in the mini. For the pocket pages, I cut the 5.5"
sheets to fit the pocket pages and mixed
up the paper designs so that the pockets were a different paper than the corresponding
back of the page. At this point, all the
pages have a base that I can build on.
After cutting all those 5.5" pieces I had a lot of strips leftover
that I knew would work well as accents on the pages. I used those strips along with some fussy cut
some elements, and some cardstock scraps, to embellish all the pages.
The mini also has hidden
pockets that holds a square tag. You can see one of the tags peeking out on the left. I
papered the tags and looped a twill ribbon through the grommet and tied it off
with a bit of jute twine. I diecut some
smaller tags and inserted those in the small pocket flaps. The left page has a belly band and I tuck in one of the cut aparts and on the right I used a couple of tag cut-aparts.
I diecut some smaller tags and inserted those in the small pocket flaps. I used a scalloped circle punch to put some fun design elements.
Well I just love these little piggies so they are on the back of the mini!
I did a walk through video for you, too many pages to post all the photos here!
Then I added that pretty sentiment tag. I ruffled that up and put a double layer of foam tape on the back to pop it up in the center and curled opposing corner edges. Next I made two sizes of roses using the Large Rose 7 Piece Die Set and the Medium- Rose 7 Piece Die Set. I embellished those with pretty flourishes using the Flourish #11 Die . Top it off with a pretty tied bow and you've got a sweet romantic tag to put with a nice gift of chocolate or champagne. Whatever your sweetie loves!
I made this fun tag and card set with the Prima Rossibelle collection. Love the pink, black and bright white of these papers.
The Infinite Rectangle Frame is a great frame to draw attention to a photo or area of your tag. I used it on this tag to define the center section.
I used the Grunge Star Corner to add a bright visual element. I heat embossed it with Stampendous chunky white embossing enamel which gives a bright white enamel look that I really love.
Then I added a Thank You sentiment from the Small Sentiment Words collection. Both the words and frame are heat embossed with detail black embossing powder. These words are the perfect size for cards and tags. I finished off the tag with pretty canvas Petaloo blooms, some diecut greenery and a pristine white bow.
I also used the Small Sentiment Words for the sentiment on this card. The flourish is from the Vintage Flourish Set 1 and is heat embossed with Stampendous Shabby White Embossing Enamel.
I used more of those gorgeous Petaloo cnavas blooms on the card!